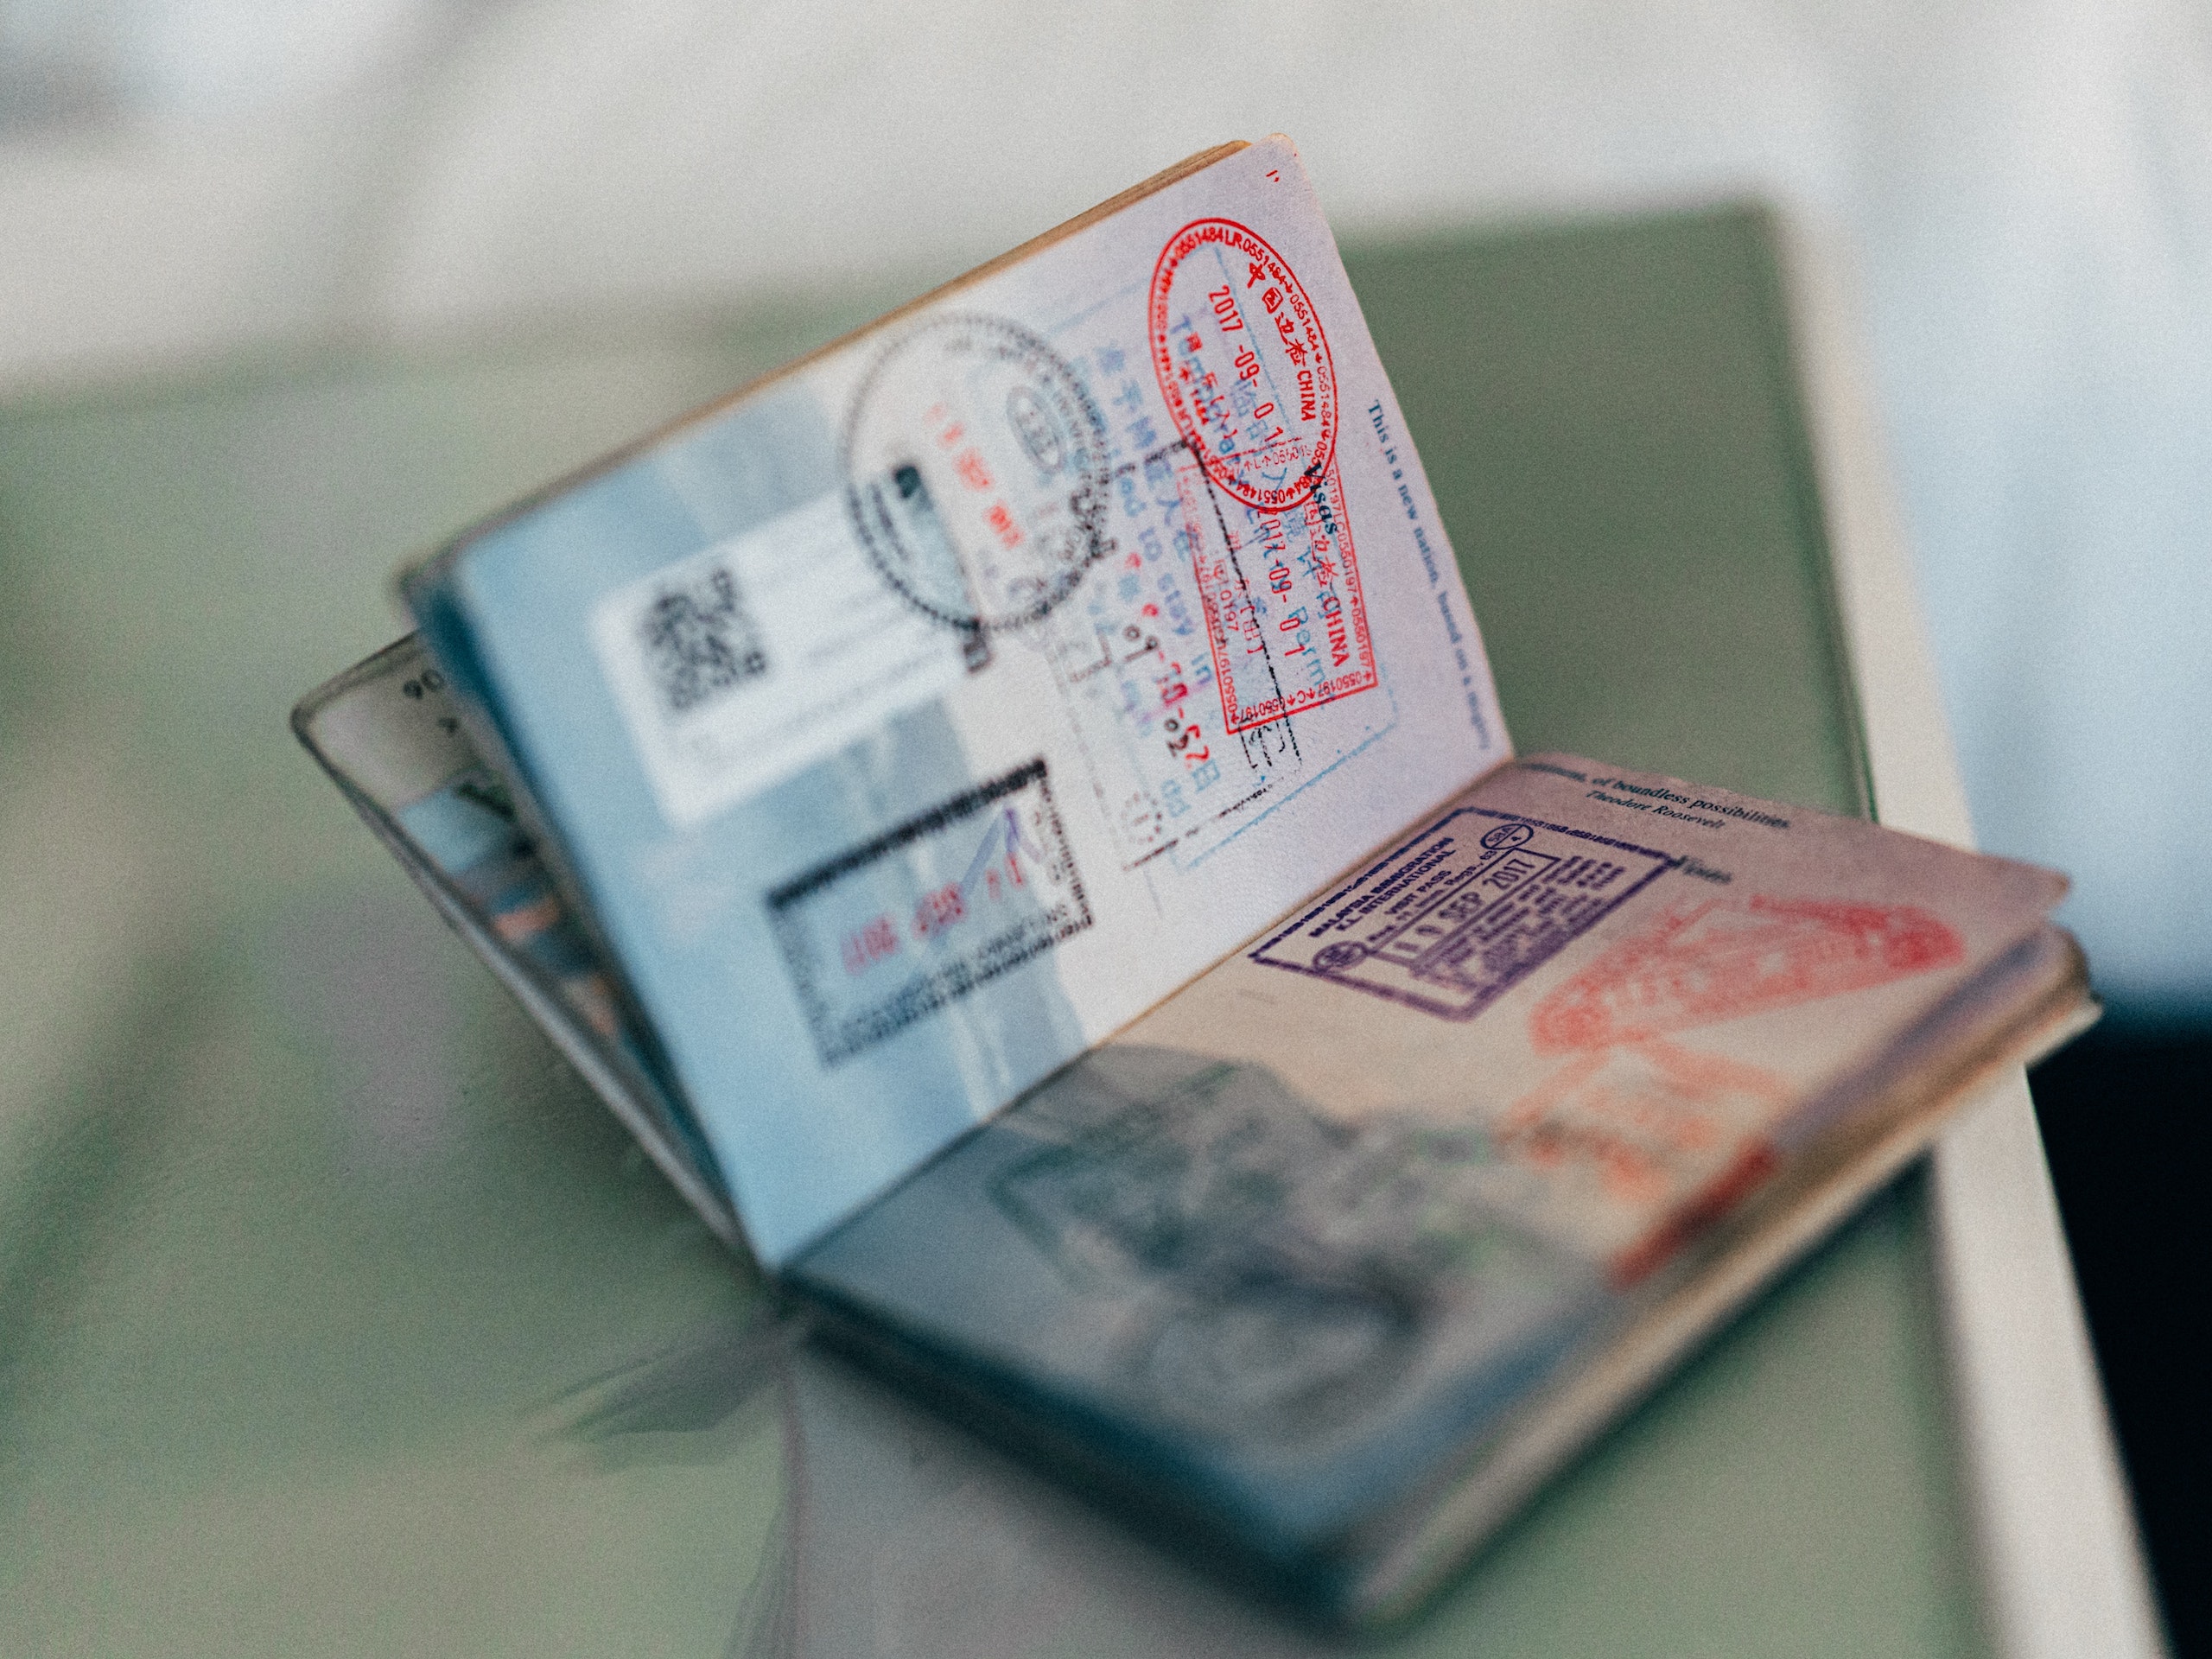
Have the last two-plus years of staycations left you pumped to travel and make up for lost time? If you’re like me, your passport sat dormant in a drawer for much longer than planned and either expired or is getting close. (Hot tip: many countries require six months of validity to grant entry, so you’ll need to be ahead of the expiration date written in your passport.) Maybe you are just toying with jumping into the global travel world for the very first time and looking to get your first passport. Here’s a quick guide on what all you need to do to get it going, and get that new passport in hand.
The process for how you renew your passport and how you get your first passport is pretty similar. You need to fill out a form, submit a picture and pay some money. For renewals, there are quite a few passport renewal services online, but I’ve always found it just as easy to save a little money and handle it myself. You can kick off the process with an appointment at a passport office, but you can also mail things in on your own (which is what I just recently did).
You must apply in person if at least one of the following is true:
- You are applying for your first U.S. passport
- You are under age 16
- Your previous U.S. passport was issued when you were under age 16
- Your previous U.S. passport was lost, stolen, or damaged
- Your previous U.S. passport was issued more than 15 years ago

Step 1 – Photo
You’ll need to get a passport photo taken to submit with your application. The whole premise is super basic, but be prepared – it’s not likely going to be a photo you’ll want to frame. The down-and-dirty details include:
- Printed on thin, photo-quality paper in color
- 2×2 inches in size, and between 1 inch and 1 3/8 inches from the bottom of the chin to top of the head
- Full face, front view with a plain white background – but no smiling, as guidelines call for a ‘neutral facial expression with both eyes open’
Plan to wear normal street clothes (no uniforms unless it’s daily religious attire). No hats, headgear or headphones that can obscure your hairline. No eyeglasses either (although there are some medical allowances that require a signed statement). If you normally wear a wig or hearing device, you can wear them in the photo.
You do need to provide a physical photo along with your physical application, but this is easy to do through a variety of places that are set up to take passport photos. Be sure to call ahead to see if you need a reservation, but there are quite a few very easy options depending on where you live:
- Shipping centers, like most UPS or FedEx locations
- Pharmacies, like CVS or Walgreens
- U.S. Passport Offices
Step 2 – Application Form
Whether you are applying for your first passport or renewing an existing one, it’s relatively easy to navigate things online. You CAN go through the hoops to apply in person at a passport office, but printing and mailing saves some personal time out of your busy week.
Choose your form by following the steps on the State Department site. If you’re planning to travel globally beyond the Caribbean, Mexico or Canada, you need a passport book (not just a passport card). For renewals, fill out your form online and then print it out to mail in with your photo (and money). For those meeting the ‘apply in person’ criteria above, you’ll need to bring citizenship identification to the appointment as well. (I recommend you read the details on the State Department site so that you have everything with you that’s required for your circumstance.)

Step 3 – Time and Money
If this is your first passport book, the cost is $165.00 USD in total, unless you’re expediting delivery. When you are just renewing a passport, the cost is $130.00 USD for standard timing and delivery. If you need your passport quick, expedited costs are $60 on top of the baseline cost.
Processing time is currently 8 to 11 weeks for new and renewal passport applications. If you need it sooner, I recommend you expedite. Expedited passports are 5 to 7 weeks out. These don’t include mailing times, so planning ahead is beyond critical! If you have international travel booked within 3 business days, you should try to set up an appointment to see if you can be expedited. This page on the State Department site has some helpful rush options.
Step 4 – What to Mail
Here’s what you need to mail:
- Application form. You’ll need to print the application form you filled out (single sided). For so many of us with no easy printer access these days, this might be the hardest part of the process!
- Passport photo. You only need to provide one photo.
- Money. They will accept a check or money order.
- Your current passport book. This is, of course, if you have one. They should send the old one back to you for posterity with lots of holes punched in it to show that it’s cancelled. (It will either come with your new passport or randomly 2 months later, as happened to me.)
And Now…The Waiting Game
It definitely takes time, but there is a handy website to check status and track the progress. See helpful links below. And then, eventually, happy travels!
Helpful links
- To start the process and download a form, visit the State Department: U.S. Passports
- For questions, visit the State Department’s FAQ page.
- For more details, visit USA.gov: How to Apply for a U.S. Passport.
- To track your passport application, frequently check out this status link.

